Peel-and-Stick Wallpaper | DIY Your Way to a Whole New Vibe

If you’re in the mood for something easy breezy lemon squeezy that you can DIY for a quick pick-me-up, then find a new friend in peel-and-stick adhesive wallpapers. This simple process allows you to bypass the tedious applicator glue and cumbersome methods required for the traditional wallpaper counterpart. Peel and stick is about as simple as it gets to make a dramatic transformation in minutes, whether wallpapering the entire room to set a vibe, or an accent wall or ceiling to create a point of interest. It’s also easy to reposition or remove if needed. You may also want to consider exploring the vast array of wallpapers at your local Wallpaper Store, where you can find various designs and materials to suit your preferences.
 Top trends
In this current era, anything goes! If you’re just starting to entertain this idea, here are some ideas to kick off your brainstorm.
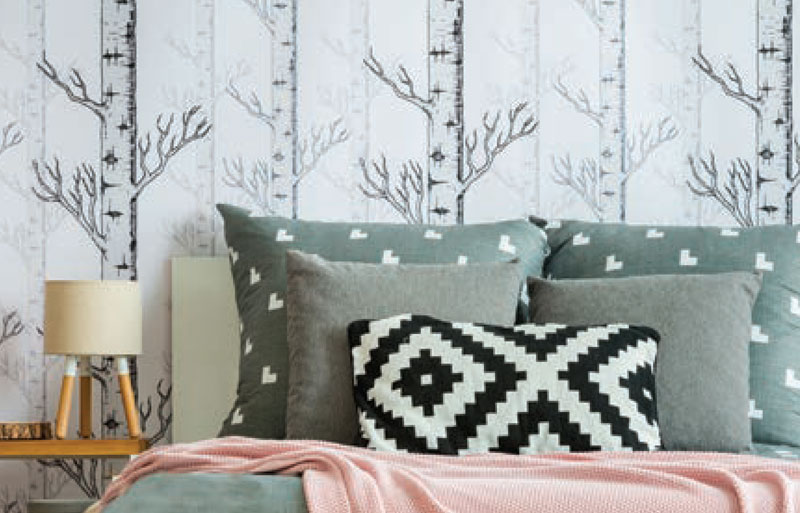
 Geometrics paired with florals: The look here is about pairing two contrasting patterns. Choose a pattern with classic geometric lines for the wallpaper, and bring in floral accents to other parts of the room, like a rug or mat, paint stenciling, fabric prints, pottery, or an actual vase of flowers. Alternatively, go for the opposite. Choose a bold and colorful floral pattern for the wallpaper and a classic floor pattern of black and white squares, diamonds, or another multi-sided figure. This combo looks fabulous in a bathroom.
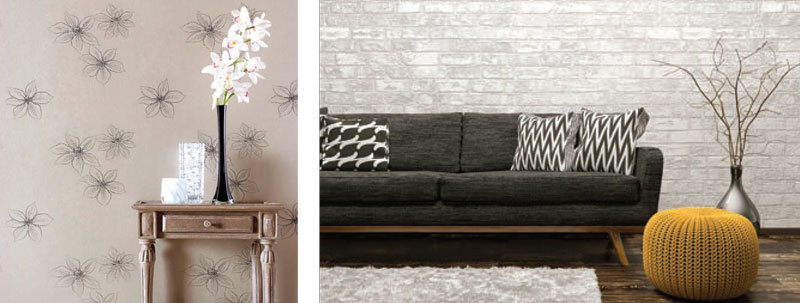
Textured: This aesthetic will turn a few heads and can even come across as something of an optical illusion. The goal is to choose a pattern that mimics an entirely different material. It can appear shiny and metallic, matte like a stone, gritty like faux concrete, splotchy like terrazzo, rough like brick and mortar, or even soft and plush like velvet. Textured style is great for gathering hubs in the home, where conversations are likely to take place, such as living rooms, dining rooms, kitchens, youthful bedrooms, and music and game rooms.
Murals: If you’re looking for something that goes a bridge further than a monochromatic background with a repeating pattern, opt for a mural. It could be a landscape or cityscape of a place you love, a nod to modern art, or a nature scene playing out in a botanical garden or tropical rainforest. You can even find wallpaper mural artists on Etsy or other artistic platforms to create a custom design that matches an image from your imagination. This is perfect for any room that you want to feel sacred and near and dear to your heart, where observers can take flights of fancy and escape for a bit. Platon sells custom vinyl wall murals that are durable and vibrant.
 How-to tips
You’ll need the following materials: a tape measure, painter’s tape, the wallpaper roll(s), scissors, a smoothing tool, and a utility knife.
Measure the height and width of the wall and calculate how many rolls you need, allowing for a little extra to account for any fixtures or features that disrupt the flat surface. You can trim up any surpluses after coverage.
 Always start with a clean, dry, smooth wall for the optimal results. If walls are newly painted, allow four weeks for the paint to prime before applying wallpaper. Use a screwdriver to carefully remove any electrical or light fixture plates on the wall. The same goes for hardware, picture hanging gear, or anything that can be removed to create a flatter surface. For angles, cut outs, windows, trim, or any other fixture that is not easily removed, simply paper these areas as part of the process. Then cut, peel and remove what doesn’t need to remain at the end.
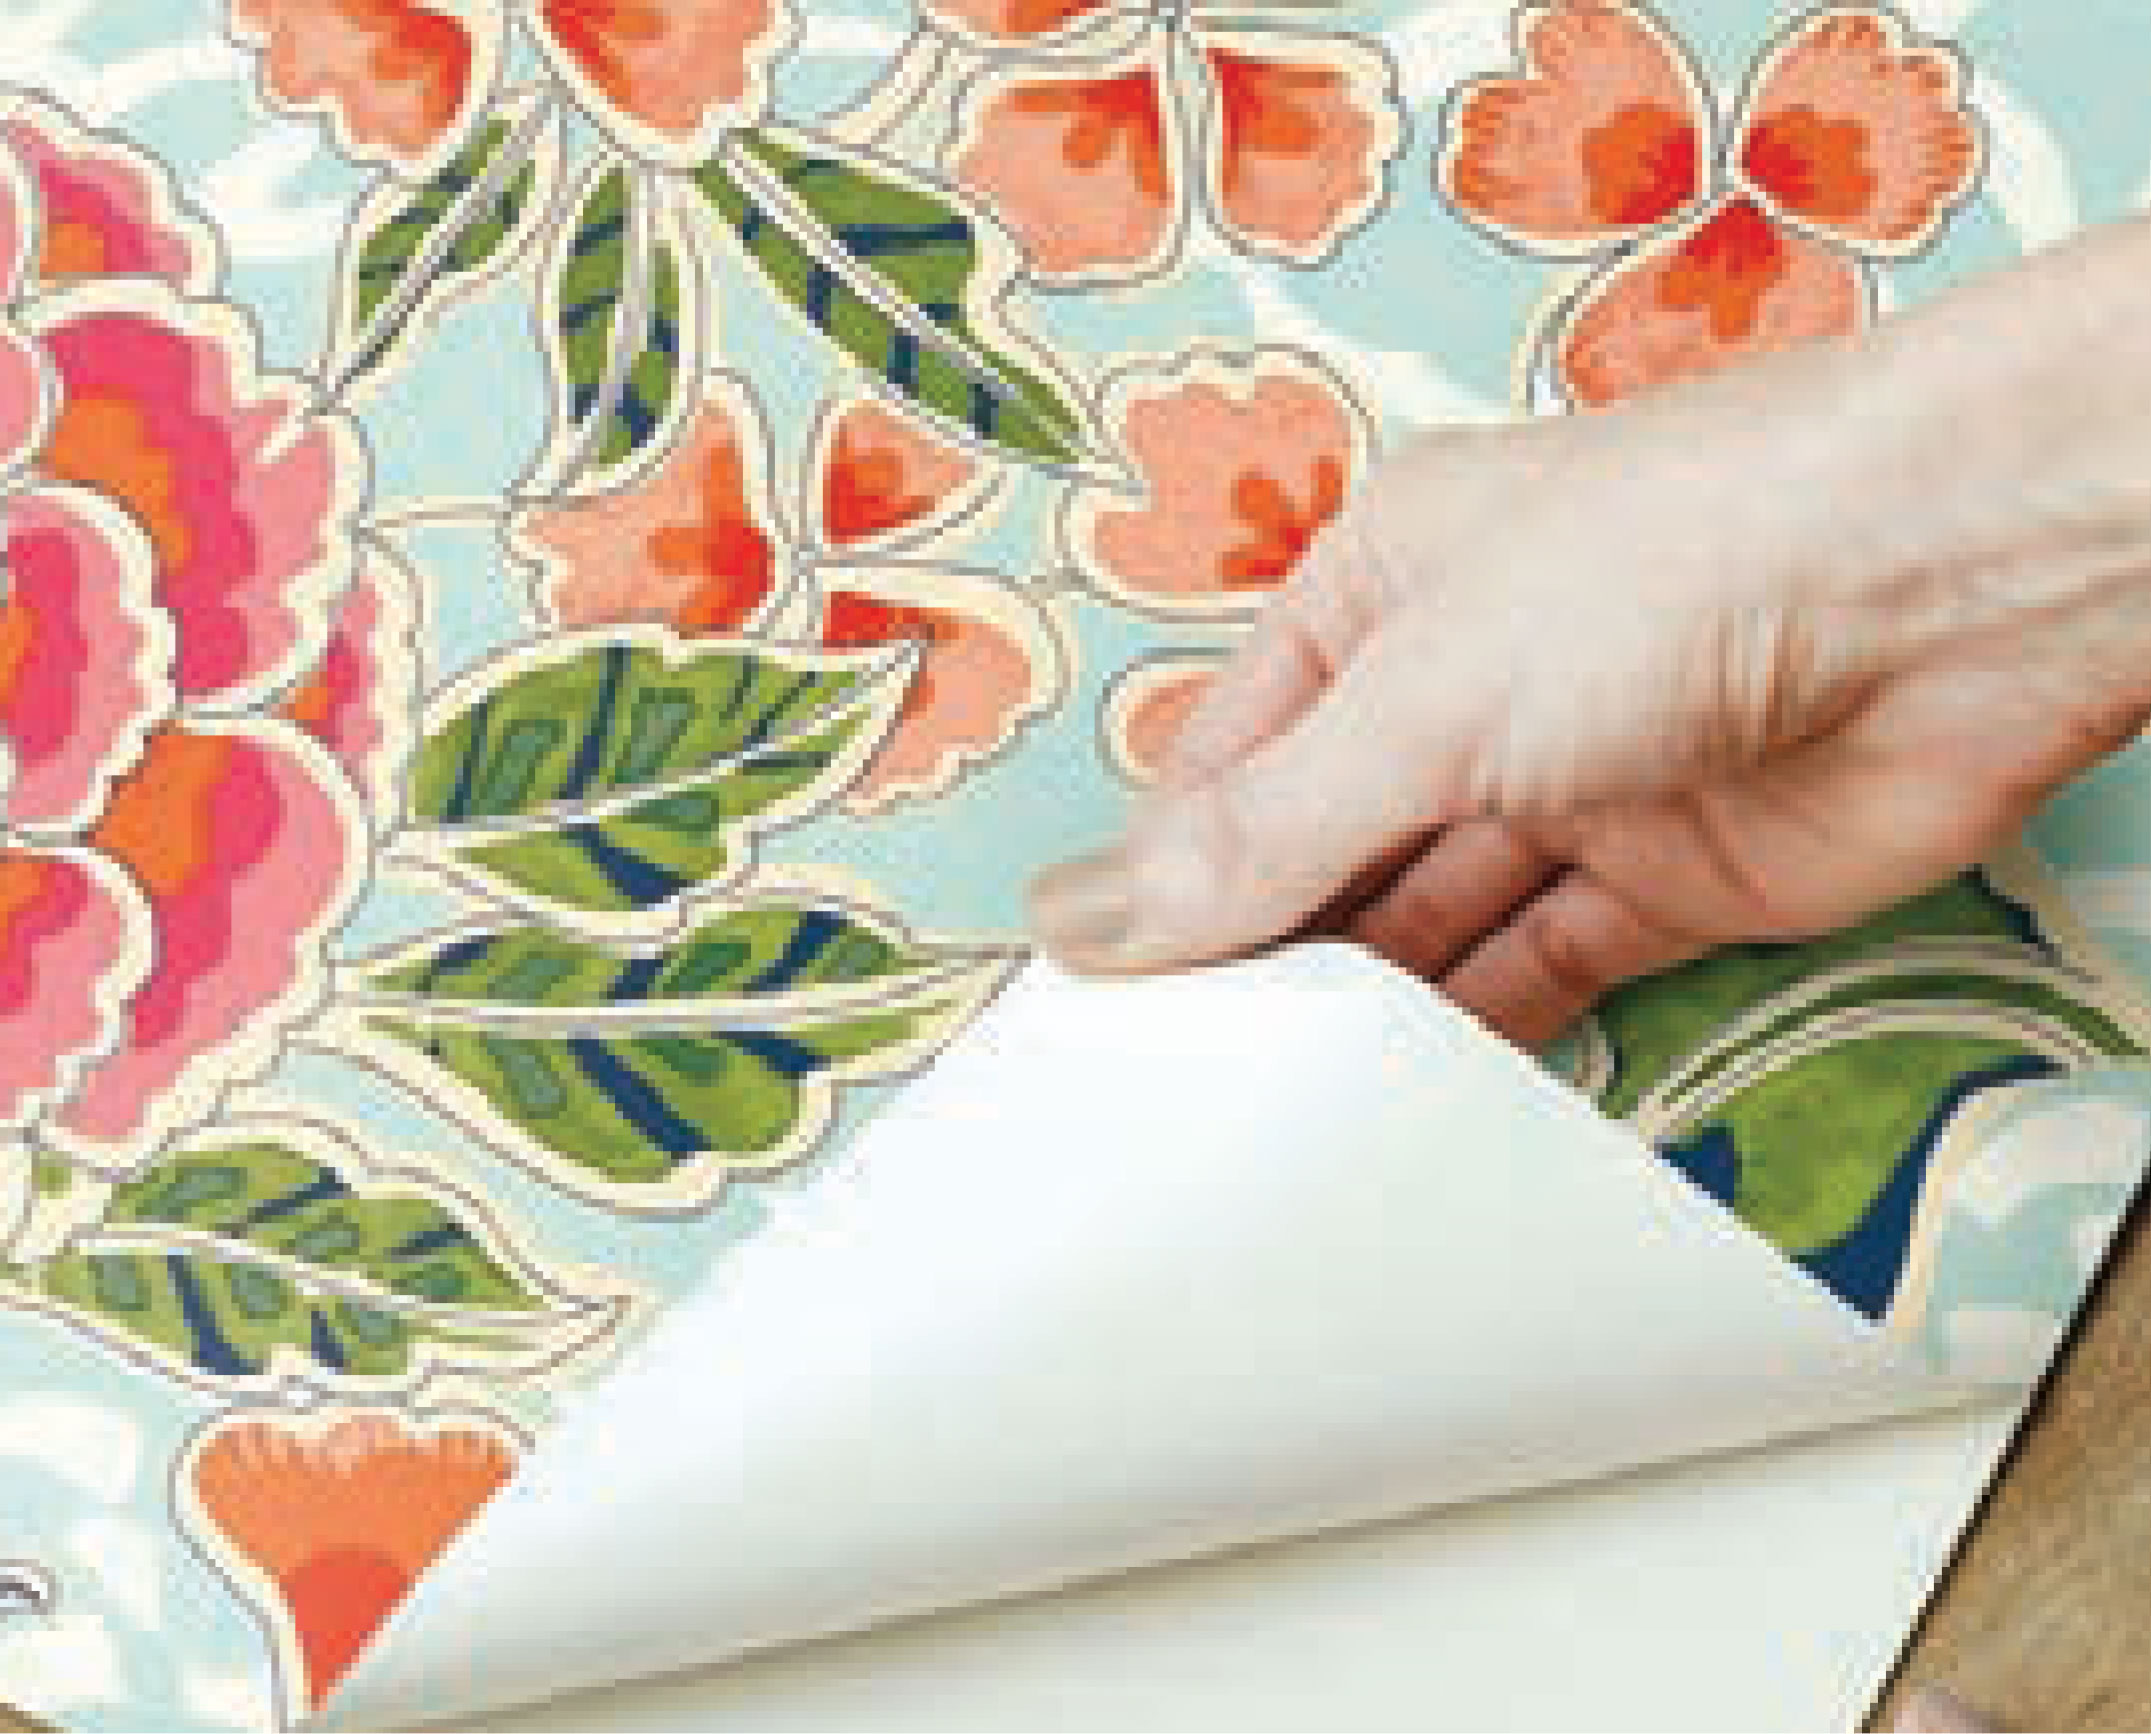
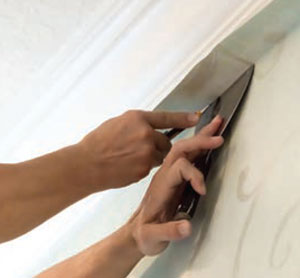
 Stand on a ladder or stepstool and match the top left corner and edge of the wallpaper to the top left corner and edge of the wall. (This is the recommendation for those who are right-handed. If you are left-handed, right to left might feel more natural.) Carefully unpeel the top corner from the backing of the wallpaper, folding back a few inches to give you a section of tack to get started. Several inches at a time, press the sticky side to the wall, while removing the backing as you make your way down the wall. Use your smoothing tool to press out any air bubbles. Work from left to right and top to bottom, unpeeling and smoothing slowly as you go. When you finish your first sheet, match the next sheet to the continuing pattern like a puzzle piece. You might want to make a few attachments with painter’s tape to hold the precise placement while you repeat the smoothing pattern. Where the sheets come together, the seam should be barely detectible. When finished papering, use your utility knife to trim any excess paper hanging at the top or bottom of the wall, and around electrical openings and any fixtures that you want to remain uncovered. Carefully replace plate coverings and hardware. Now stand back to admire your covered wall.
When life feels heavy, sometimes DIY decor therapy is just the ticket to a state of fulfillment. And to think this process is as simple as peel and stick! ✦
contrasting patterns, diy, fabric prints, floral accents, geometric lines, murals, optical illusion, paint stenciling, painter’s tape, Peel-and-Stick Wallpaper, pottery, scissors, smoothing tool, tape measure, Textured, utility knife, wallpaper roll(s)