Homemade Wine Vinegar: A Tangy, Tart Treat

 If you’ve perused the aisles of grocery stores and seen the choices—and prices—of fancy-flavored wine vinegars, you have surely been tempted to buy some. Instead, why not create your own, tailored to your taste, from scratch? Bottled and beribboned, homemade vinegar makes a great gift, too!
Making wine vinegar is easy. It just takes planning and patience. You may already have almost everything you need to create a delicious finished product.
Collecting Containers
The first step is simple: Start saving containers. You will need two different kinds: large for making the vinegar, and smaller for final bottling.
If you use distilled white vinegar for cleaning, those large plastic jugs work really well. Do you buy large jugs of distilled water? Save those too. You can also use plastic pitchers or beverage dispensers, like those used to serve lemonade or iced tea. (The process may stain them, so use something you won’t need in the future.) The bigger the container, the more vinegar you can make at one time. Or you can make one or more smaller batches.
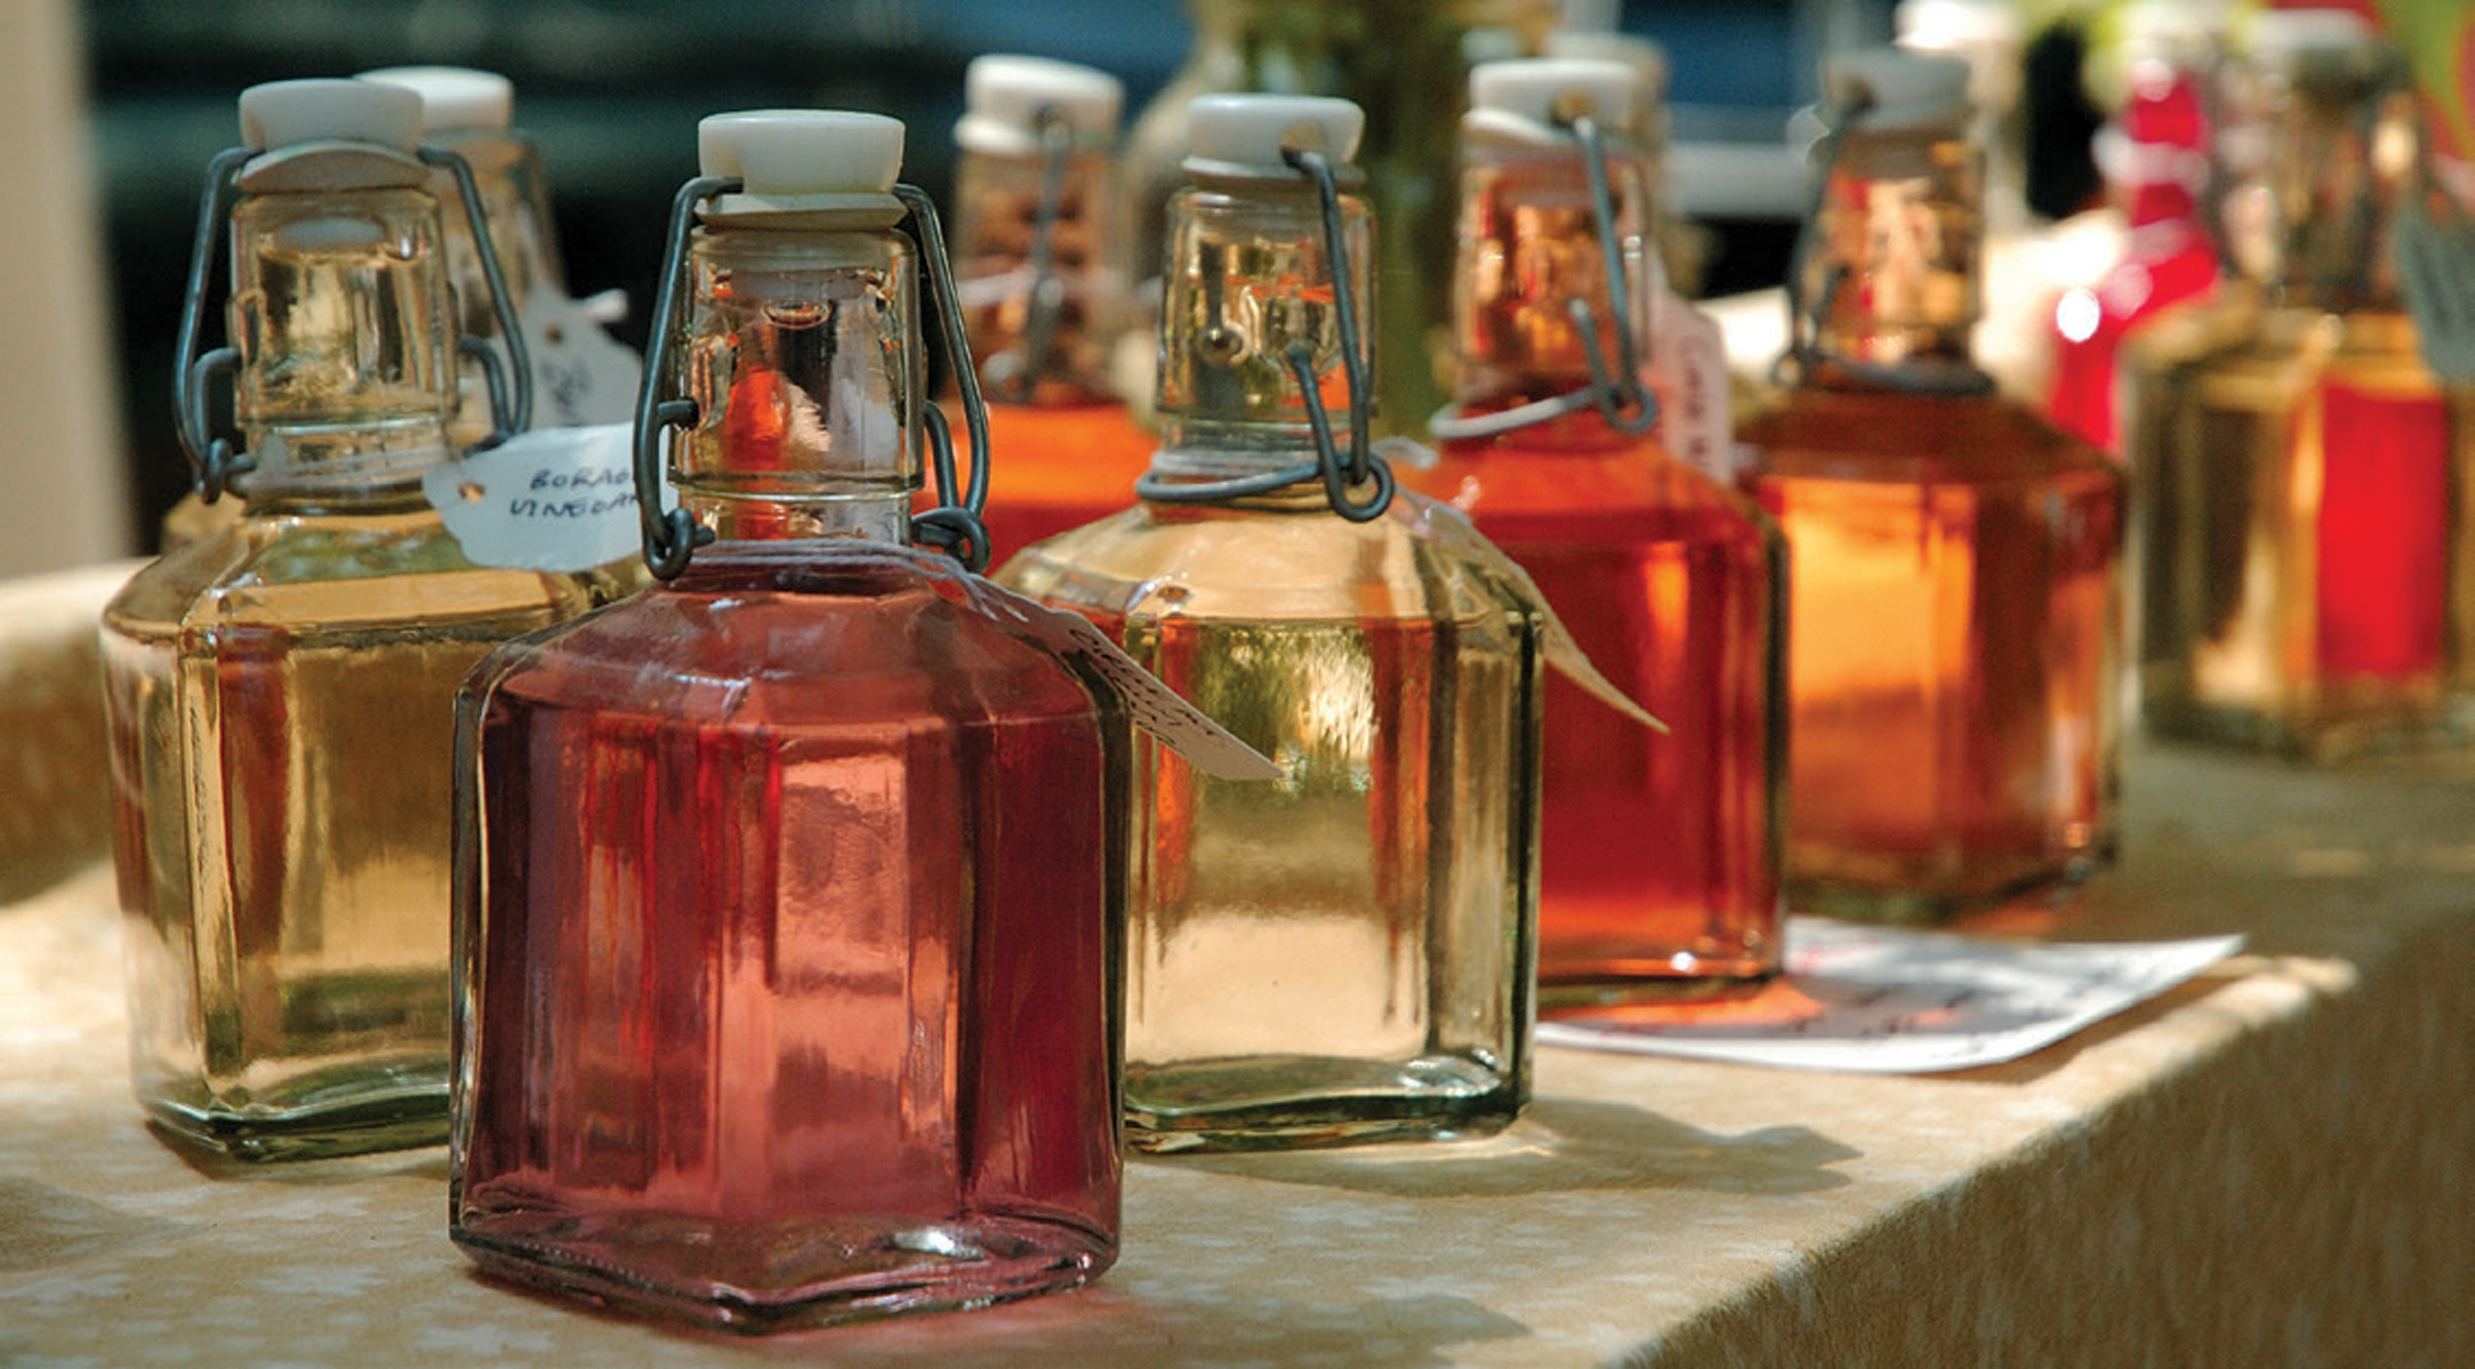
For your finished product, you will need practical, but preferably decorative, glass bottles. Empty screw-top wine bottles in clear white or unusual colors like cobalt blue are perfect—especially gewürztraminer and Riesling bottles, which have a taller, leaner silhouette. If you have empty liquor bottles in creative shapes similar to those you can find at wholesale liquor bottle suppliers, they work wonderfully. Even glass salad dressing or vinegar bottles will do.
 Most labels can be scraped off after a soak in hot water. (Leftover glue residue can often be removed with acetone nail polish remover.)
Bottles with cork stoppers are fine, but do not re-use old wine corks. Use only proper stoppers like those that come with liquor bottles. Even if you don’t like the bottle it came with, wash and dry the stopper for future use on other bottles. Stoppers shouldn’t be loose, but have a nice snug fit.
For all containers, make sure everything is washed with soap and water before using. Don’t use containers that you can’t clean thoroughly inside.
Wine Time
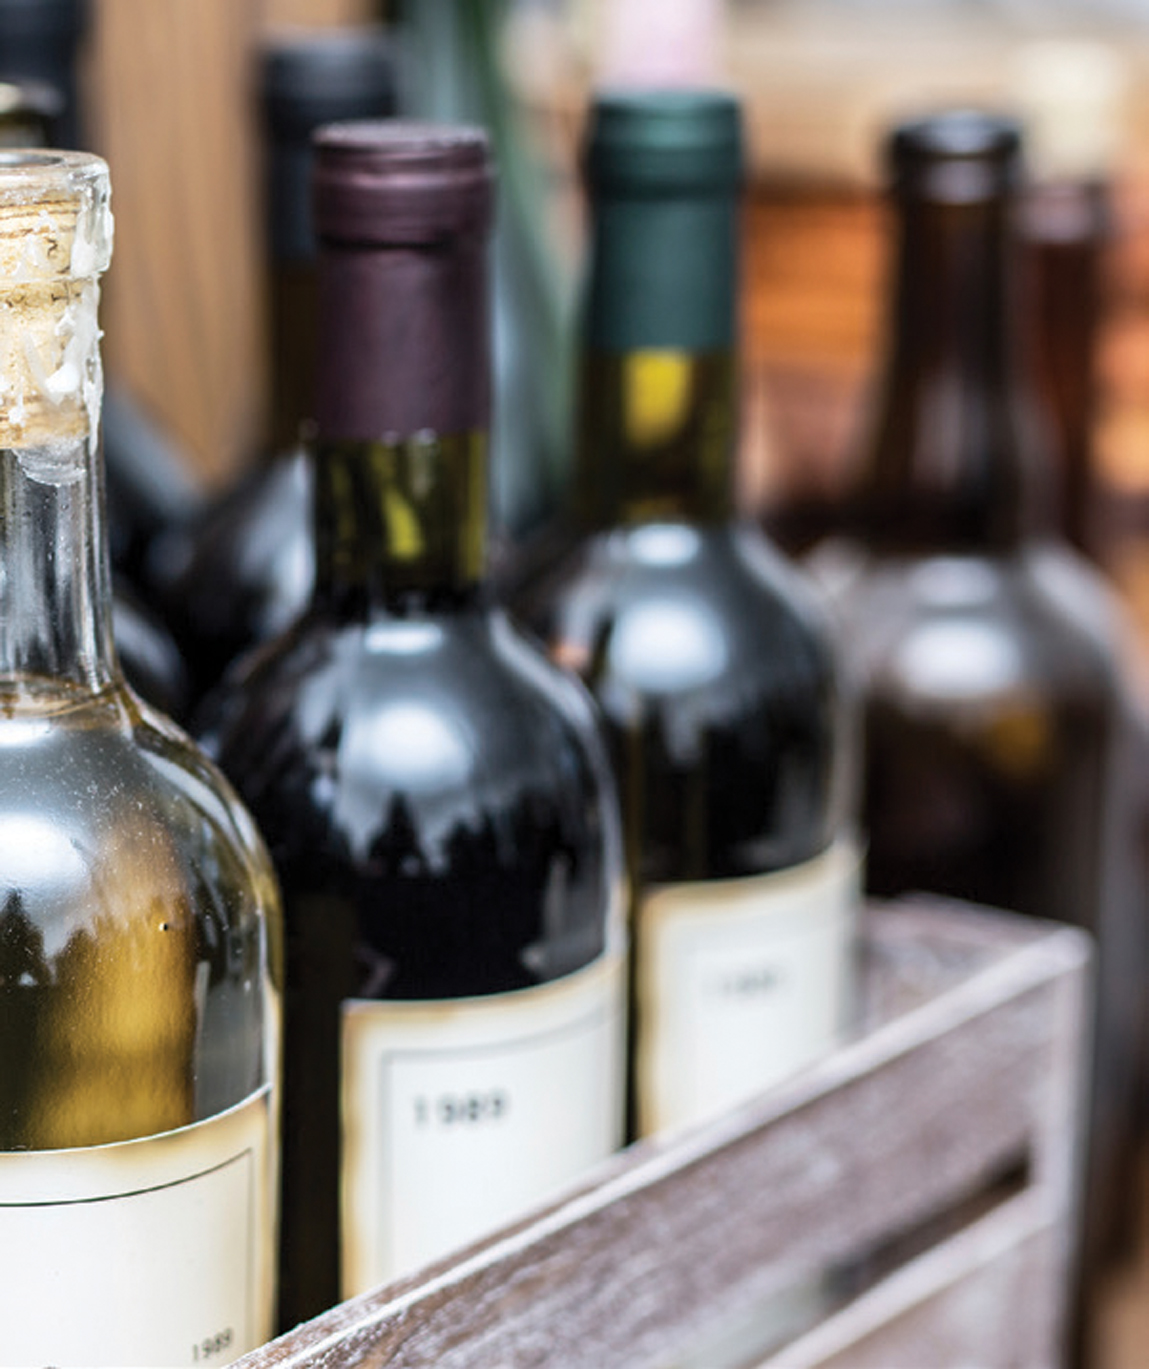
While you are amassing containers, start stockpiling wine. If you purchased wine that you didn’t enjoy or opened a bottle that seemed “off,” save it. You can make vinegar with red, white or rosé, and can even mix varieties of the same color.
If you need to buy wine, choose inexpensive bottles. Watch for sales on boxed wines, which are extremely economical and have come a long way as far as quality and taste.
Introducing “Mother”
To jumpstart fermenting, you need unpasteurized, unfiltered “starter” vinegar that has active “mother.” Mother contains a very acidic strain of bacteria, which, when exposed to oxygen, causes the fermentation that converts wine to vinegar.
Most unpasteurized vinegar brands should proclaim the presence of mother on the label—don’t buy it if it doesn’t.
This type of vinegar should appear cloudy, with residue on the bottom. First check your pantry to see if have some. If not, your local grocery or natural food store should have it.
Pour wine into your large jug, filling about one-half to two-thirds of the way. Leave room to ensure surface area for air to circulate. Then shake up your bottle of starter vinegar (so the mother is fully loosened from the bottom) and add to the jug. If you have multiple smaller jugs, divide the wine and starter vinegar equally.
 The process is very forgiving. You can vary the wine-to-vinegar ratio from 2:1 to 4:1, and can even add some water if you don’t have enough leftover wine.
Do not seal your containers. Instead, cover with a small kitchen towel, a coffee filter or a few layers of paper towels and secure with rubber bands. The goal is to keep dust and particles from getting in, while still allowing airflow. Store in a location with moderate temperature, away from light.
Then leave it alone—and be patient. Start tasting it after one month, but it could take up to three months before it achieves the tang and flavor associated with good vinegar.
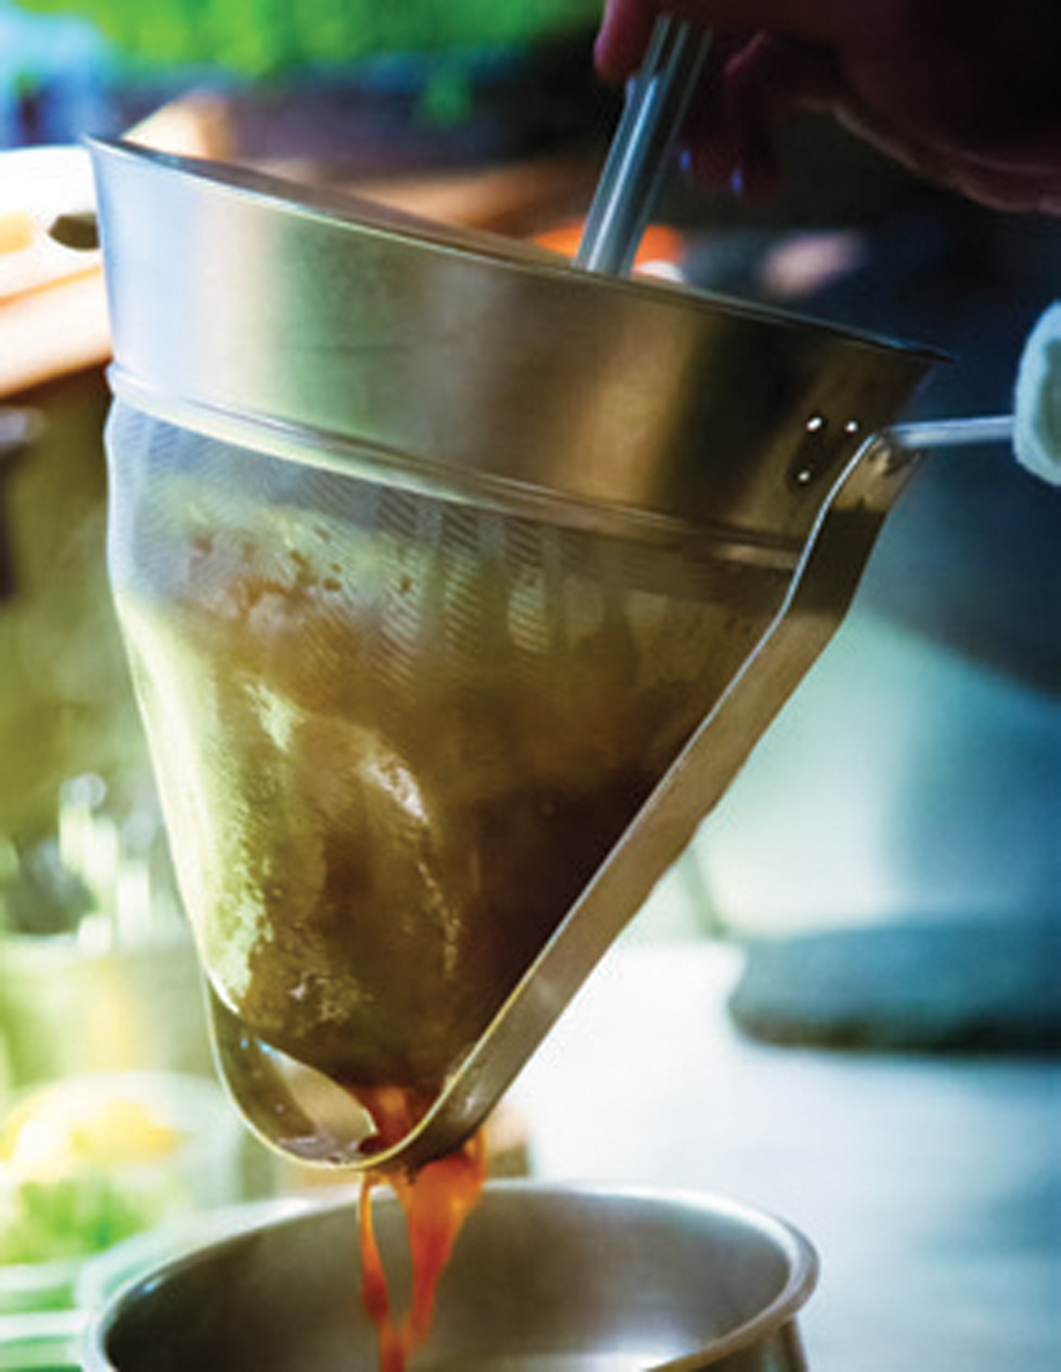
When the taste is to your liking, it’s time to transfer to your glass containers for use. Using a basic strainer lined with a few paper towels or a coffee filter, strain the vinegar to remove any large lumps of mother that will likely come out as you transfer. Strain directly into a stainless steel pot.
The mother might be a little startling once it’s grown—it should look like a scary gelatinous blob. If you were to leave the jug alone for a long time, the mother would eventually take over and you would have no liquid left. But however goopy it looks, embrace it. You can even keep using it.
Once you have a batch of active mother, you can continue to use it. It will continue to be active for a while, as long as you “feed” it with wine. So leave as much mother in your large jug as possible and simply add some more wine to keep the cycle going. (If, however, the mother has settled to the bottom and coagulated into a dark, rubbery layer, that mother is no longer active.)
To stop the mother from continuing to grow in your ready-to-use vinegar, you will need to pasteurize it. Heat and hold to a light simmer for 10 minutes. Cool and transfer to your containers. (It might be cloudy instead of the clear look of commercially filtered vinegar.)
 If you really want to kick your vinegar up a notch, after your pasteurized batch has cooled enough to work with it, but while it’s still warm, pour it into your glass containers and add herbs or other flavor-inducing items. These could include garlic cloves, chives, thyme, tarragon, basil, rosemary or chilies. Leave the flavorings in the bottles for two weeks, then strain again and put back into bottles. There is no need to
re-pasteurize.
Throughout the pasteurization and flavoring process, be sure to use only glass or stainless steel bowls. Aluminum or other metals will negatively impact the color and taste of your vinegar.
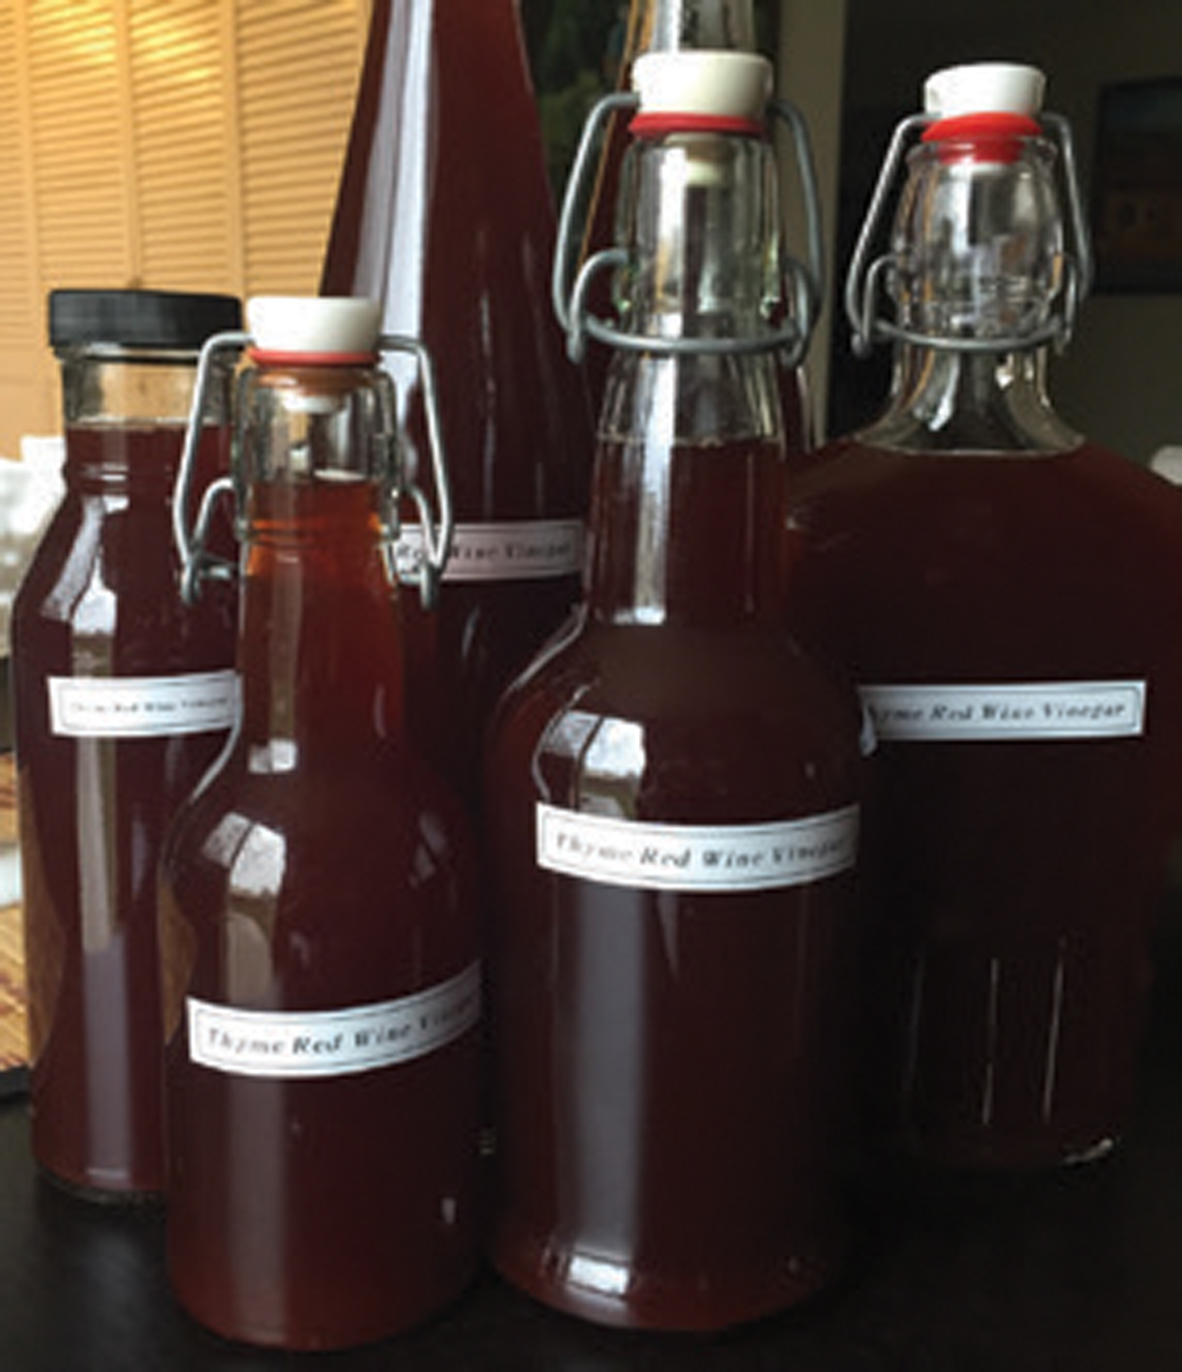
You can bottle your vinegar for your own use or share with friends and family as housewarming or holiday gifts. Jazz them up with fun labels or tie tags on with twine. And because the ingredients you chose along the way to craft your own vinegar were unique, the finished product will be a truly one-of-a-kind creation.