Jurassic Garden | Harness the Ancient Beauty of Ferns

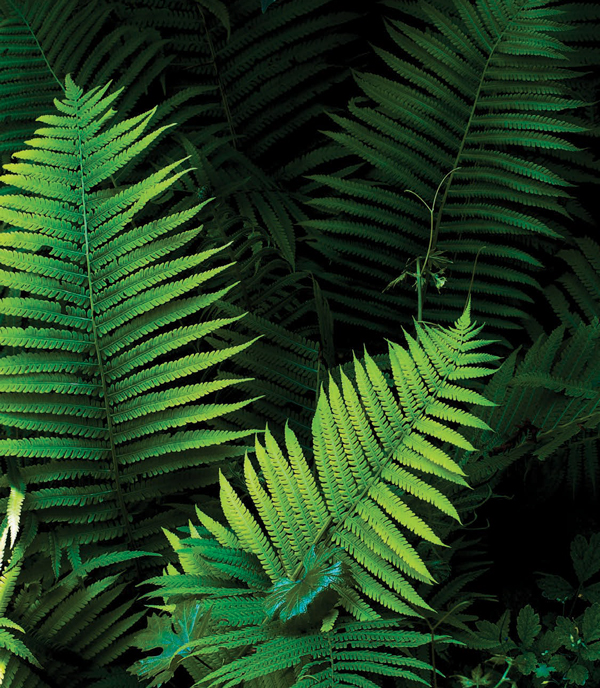
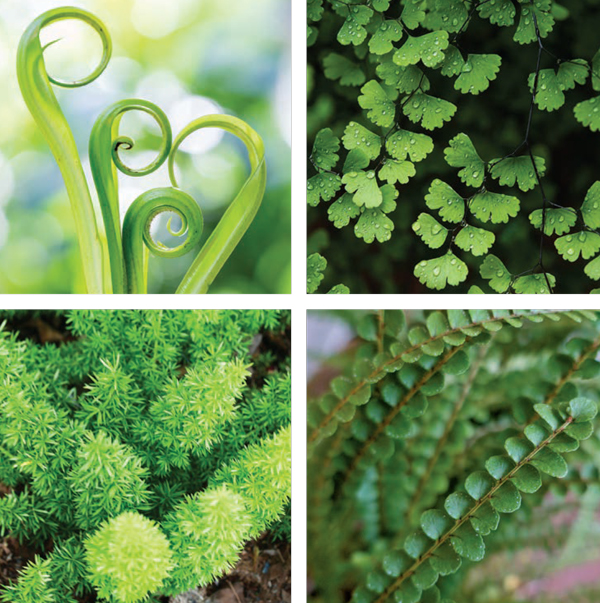
Long before humans, mammals, reptiles or even birds roamed the earth, ferns dominated the landscape, gracing forest floors, creating a lush blanket of various hues of green and providing pretty snacks for dinosaurs. Ferns fossils have been found all over the planet and date back more than 350 million years. No one even knows how many species there are, with estimates ranging from 12,000-15,000 and more still being discovered.
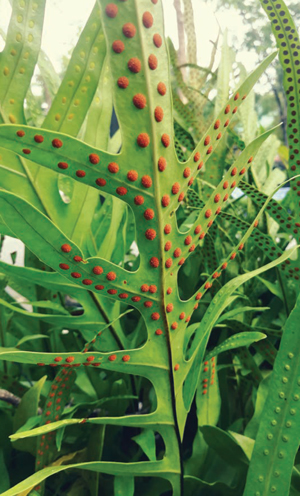
Ferns feature divided, lacey fronds of various sizes, and they reproduce asexually, through spores, and as such don’t have seeds or flowers. However, unlike other spore plants like moss, ferns have leaves, roots and stems.
In addition to lending an otherworldly look to your garden, ferns also evoke cool, lush landscapes, helpful for visually combatting summer heat. Ferns make beautiful additions to your outdoor garden, whether planted in the ground or in containers. They can also flourish indoors, bringing prehistoric beauty into your home.
 Choices, choices
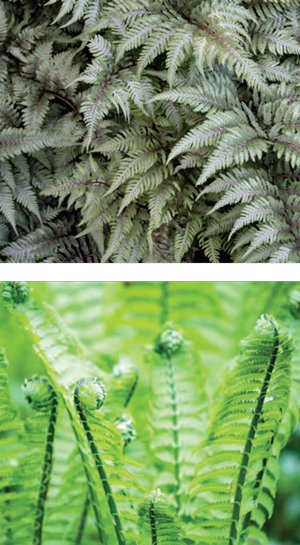
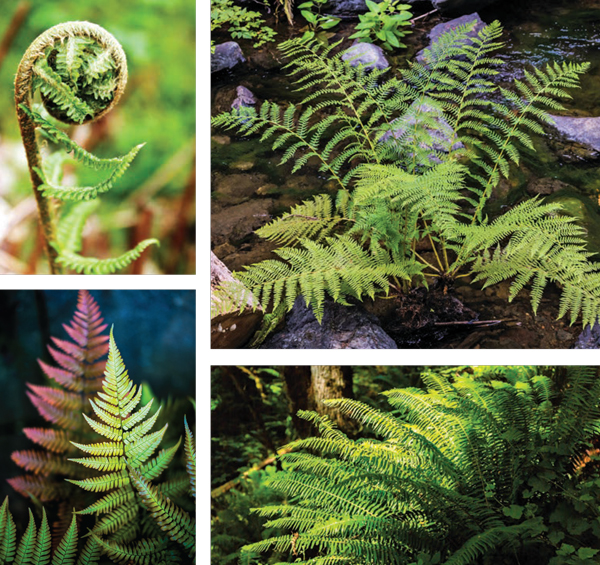
Different varieties are available in countless shades of green, various sizes, and in differing degrees of shade tolerance. Many fern varieties are hardy enough for winter but can also handle summer heat. Some are evergreen and some are deciduous. Some grow to cover the ground like a blanket while some stay in their zone, playing well with companion plants. Some, like bracken ferns, are invasive and will take over your garden.
Take time to do your research before buying. To get you started, some popular varieties suited for Virginia’s hardiness zones include Lady in Red fern and Japanese holly fern.
What a fern needs
Regardless of variety, it’s always critical to ensure ferns have a consistent water source. In your garden, the top half-foot of soil should be kept moist at all times, so plan to water frequently during dry spells. In containers, soil must stay moist, but not soggy, to ensure roots thrive.
As for soil composition, ferns love soil that is moist and rich in organic matter—something that might mimic a damp forest floor with layers of decaying leaves. When planting in the ground, try to choose locations that emulate the same forests in which they evolved. For optimal growth, gardeners should plan to add layers of organic matter to replenish the soil, although it’s worth noting that ferns can also survive in relatively poor dirt. Depending on the variety, they can also thrive in both acidic and alkaline soil.
Ferns prefer dappled light, so don’t plant in full sun. Because they generally thrive in indirect light, they are an ideal choice for shady areas of your garden which otherwise might be barren.
 Planting time
Spring is the ideal time to move plants from one area of your garden to another, or to purchase and plant new plants. As with most plants or transplants, you should wait for a moderate, overcast day to introduce them into their new home so they aren’t shocked by any extreme heat or cold.
When transplanting from containers, dig a hole twice as wide as the container, at the same depth as the root ball. Gently place in the hole, and fill with rich soil. Water in and protect the moisture in the soil with at least two inches of mulch, preferably comprised of pine needles or composted leaves.

If you already have ferns on your property—or a friend’s— you can dig some plants up, divide them and propagate them, sharing the wealth throughout your garden. Prep them a day ahead by giving them a deep watering. The next day, carefully dig the plant out and gently pull, or even cut, the plant into two or three separate clumps. Just make sure that each individual clump sports a growing tip, the structure from which new fronds grow. Place the clumps where you want to establish the plants, and be sure to water the soil until the newly divided plants start to grow.
If your soil is rich enough in organic matter, you may not need to fertilize. If you find you need to augment, go easy. Ferns are very sensitive to fertilizer and don’t need much to thrive. Check your specific variety for how much is needed. Apply a slow-release fertilizer when plants grow the most, usually April through September, starting as soon as you spot new growth. Stop fertilizer when plants are resting, during fall and winter.
Gardeners will need to have patience when establishing ferns, as they are very slow-growing. It could take years for them to become fully established and to display their full size.
When planning your garden, group ferns with other shadeloving plants like caladiums, violas, bleeding hearts, Virginia bluebells and, of course, ever-trusty hostas. They’ll create a beautiful woodland tableau.
Once established, ferns are relatively easy to care for. Ferns are resistant to deer, so feel free to plant them at the boundaries of your garden or property. They are also resistant to pests and diseases. The only major issue might be slugs or snails, which you can combat by dusting the ground under the fronds with diatomaceous earth.
To keep ferns healthy during the colder seasons, be sure to trim fronds all the way back following a heavy frost, and cover plants with a heavy layer of mulch until spring. This will help protect them from frost heave—when the plant is pushed from the ground as a result of soil’s expansion and contraction that comes with temperature fluctuations.
Contain your enthusiasm
Ferns do very well in containers, both indoors and outdoors. Choose a peatbased, soilless mix, although you can augment an outdoor container with composted leaves taken straight from your garden. The mix should also hold water well, so consider adding components like Miracle-Gro Water Storing Crystals or coir, which can absorb seven times its dry weight in water.
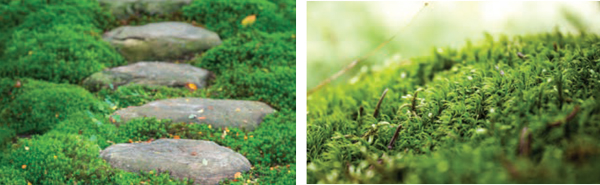
Landscape Like a Moss
When planning a fern display in your outdoor garden, why not consider a companion that might help address some of the same problems ferns help solve? While ferns can provide vibrant color in dark corners of your garden where other plants can’t grow, moss can help create a lush carpet where there isn’t enough sun for grass to thrive. Like ferns, moss propagates with spores. But unlike ferns, moss doesn’t have a root system, allowing it to grow in somewhat unusual circumstances— including soggy, sunless soil that might be overly acidic or alkaline. You can even grow moss with no soil at all.
To prep a garden area, take out whatever straggler plants are barely hanging on. Yank out weeds, rake out grass, and pull out roots. Water the soil until it’s nice and muddy. Introduce moss by transplanting chunks to cover the area, or by starting a small patch of moss and letting it spread. Push the moss into the soil, almost like spreading grass sod, securing it and holding it down with sticks or branches. After a few weeks the moss will get settled and start to grow.
You can also make a slurry of moss to fill in gaps in your transplanted garden, or to encourage moss growth on rocks or terracotta planters. Get some moss, toss it in a blender (yes, really) with a cup of water and a cup of buttermilk. The odd mush allows the spores to spread, so smear it wherever you want moss to grow.
In both cases—transplant or slurry—keep the area moist while the moss is growing.
On the flip side, ferns can’t thrive in soggy soil, so make sure the container has holes for drainage. Containers can be relatively shallow, as little as six inches, as long as there are a few inches of extra space in width for growth. You can plant in larger containers, but you will need to be more vigilant with watering, so shallower ones might be easier to care for.
The same shade tolerance that makes ferns ideal for trouble-spots in your garden makes them a nice fit for indoor decor. They’ll do well in east- or northfacing windows, freeing up your southern or western exposure for sun-loving plants. Button, maidenhair, kangaroo paw, Boston and silver brake are all popular indoor varieties.
Keep an eye on the humidity levels in your home. You can purchase a small humidity gauge to place near your plants, aiming for about 30 to 50 percent humidity levels. AC and heat can create a dry environment, so you will need to water your indoor ferns regularly. You can even treat them to a mist spray to mimic misty forest conditions. If space allows, set fern pots on a tray of water and decorative stones. If dryness persists, you may want to consider a humidifier in the fern’s room, or even shift your plants to a bathroom or laundry room, if those provide a more humid atmosphere. To keep ferns lush and healthy, apply fertilizer at half the normal amount, and keep plants trimmed of dead or dying leaves.
To get started on your Jurassic showcase, visit your local gardening center and talk over what fern varieties are available to suit your outdoor garden, container display or indoor garden. With some research, care and patience, your display will boast some eye-catching greenery evoking prehistoric drama and color year after year. ✦
containers, deciduous, evergreen, Features, ferns, lush landscapes, organic matter, shade tolerance, slow-growing, soggy soil, spores, transplanting