Fresh Paint | Bring New Light and Life to Interiors

Late winter is a great time to tackle an interior house painting project. The holiday rush is passed (and hopefully, decorations packed away), but there’s still plenty of indoor time ahead before it’s consistently warm enough to count on outdoor activities. While most homeowners prefer to hire a residential painting professional, many indoor painting improvements are also well within reach of the average homeowner. Breaking the job into manageable components is the key to success.
 Where to start
As with so many home projects, it’s best to keep disruption to a minimum. Settle on one room or contained area so you can quickly see the benefits of your labor and walk away when your attention is needed elsewhere. Don’t discount the impact of painting a downstairs half-bath or even the home’s entryway for which we recommend to hire top residential painters Philadelphia PA services. Both spaces may be small but have big impact when welcoming guests.
 Select the paint
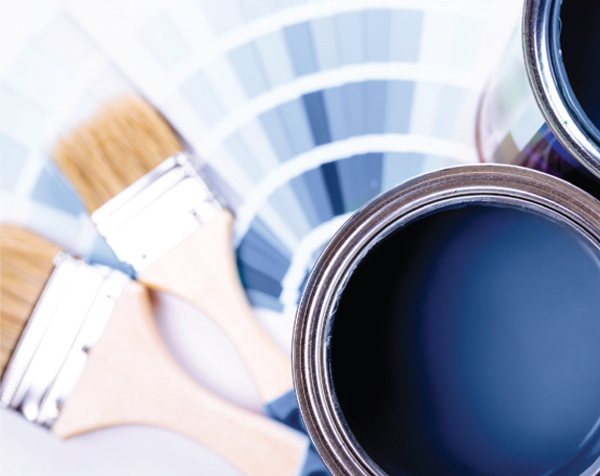
Oftentimes, people avoid DIY painting projects because they’re scared to make color decisions. Don’t be. Virtually any store that sells paint will have paint cards in every color of the rainbow. Plus, stores that offer paint supplies have either ready-mixed paint colors in sample sizes or will mix custom colors in small cans so you can see the colors on the surface you’re painting. This is more important than you think, because the color will look different at different times of the day. What looks like a creamy tan in the morning might appear yellow in afternoon light. Invest the time and a little money in this step to ensure you’re getting the right hue. Purchase water-based paint also known as latex for easy clean-up.
Assemble the materials
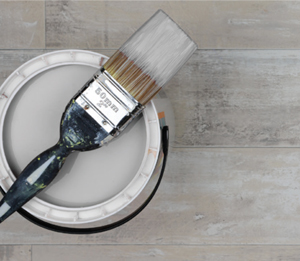
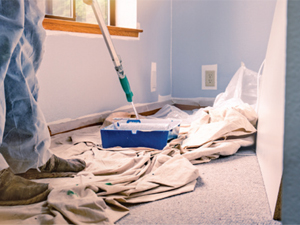
Pittsburgh house interior painting professionals make home interior painting look easy because they bring what they need with them. Start with spackling paste, a putty knife, and fine grit sandpaper for wall preparation. Then find a drop cloth to protect the floor (unless the floor is what’s being painted). An old sheet, either from your closet or the local thrift shop, is perfect. If you want to work quickly around edges, invest in painter’s blue tape, which keeps edges crisp and is easily removed. (Don’t use masking or cellophane tape; they can damage the paint or finish underneath.)
You’ll also need a tool for prying the lids off paint cans, wooden stirrers (grab these when you are purchasing the paint), a rag for drips, and a mallet for reattaching the lids at the end of a work session. If you’re using a paint roller, invest in a metal roller tray and disposable plastic inserts. A stepstool is often handy, and so are knee pads or a knee cushion. When in times at work like this especially in difficult angles or areas, you may need a cushion like knee pads or knee cushion to avoid any joint pain, you can Get More Info through online sites if wish to have one.
 Brushes!
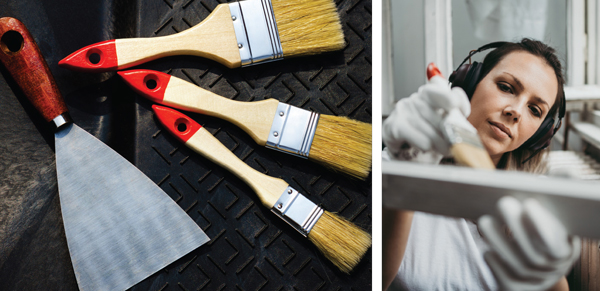
Truly, you need a variety. The good news is you don’t have to spend a fortune. Better-quality (read: higher-priced) brushes will yield a better finish, but the finish is also dependent on brush strokes and paint quality. Make sure the brush is comfortable in your hand. If you’re using water-based paint, look for nylon or polyester bristles; these clean well. Then consider the project. Most jobs will require a roller. You’ll also need an angled brush for edges (1-inch or 2-inch). It’s also good to have a wider (3-inch to 4-inch) flat-edge brush, to feather away from edges.
 Prepare the space
Clear the room as much as possible. If you’re hiring interior painters new orleans to paint a room with furniture, move everything into the center of the room and cover with another sheet. Take everything off the walls: artwork, light switch covers, even wall-mounted fixtures. It’s hard to paint around these, and the job will look more professional if you don’t try. Inspect the walls. Fill any holes or dents with spackle and let them dry overnight before sanding lightly, to get a smooth surface. Finally, wash the walls. Wet a clean cloth with water and a little dishwasher soap. Have another clean, wet cloth nearby, for rinsing. Work in sections roughly 4 feet by 4 feet in size. Wash, then wipe, and then move to another area. You’d be surprised how much dust and dirt accumulates on walls. Let the walls dry overnight. If you’re using painter’s tape, apply it last, along the edges. Let it stick out from the wall, so it’s easier to remove later.
Time to paint!
It’s nice to use a fan for both air circulation and to minimize fumes. Even if it’s cold outside, open a window just a bit for added ventilation. Organize your space so everything is close at hand.
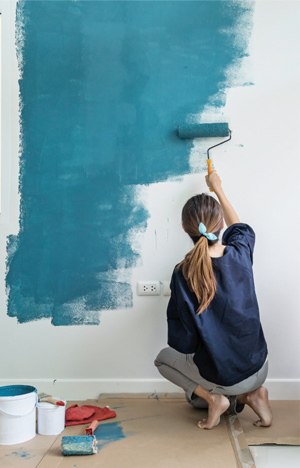
The rule with painting is to work from the outside in. Use the angled brush to create a thin border of paint around the edges. As you become comfortable, you should be able to then take the roller and roll right to this border. If you don’t trust yourself, use the flat-edge brush to widen the border. Now it’s time to roll.
Paint will set quickly, so just like the washing stage, work in a limited area. Dip the roller in the paint, using the ridges in the tray to help even the paint distribution. At the upper edge of one side of the area to be painted, write a wide W with the roller, and then continue to roll in diagonals, filling in the W. Repeat this as you move across the space, keeping an eye out for drips, which should be wiped with a damp paper towel. When you need to “connect” strokes, lighten pressure with the roller, so you don’t draw lines in the paint surface.
If a second coat is planned, leave the painter’s tape and let the first coat dry for eight hours or overnight. If one coat is all that’s needed, wait until the paint is dry, then run a utility knife along the edge of the tape, where it meets the wall. Then pull the tape up.
A note about brick
Painting a brick wall or fireplace really changes the look of a room. When prepping brick, it’s essential to scrub the brick using a wire brush, usually found along with painting supplies. The scrubbing will dislodge embedded dirt or loose grout. After scrubbing, use a dust broom or vacuum to remove remaining grit. If using a roller, be sure to purchase one that has a thick nap, at least 1 inch, to withstand the rough surface. If you’re using a brush (which will be needed at the end anyway, to get in crevices), make sure to have one with stiff bristles.
Freshening a room with new paint is a great way to lift your spirits on days that can still feel dark. Take a breath, and get to work! ✦
a putty knife, angled brush, brick, custom colors, fine grit sandpaper, flat-edge brush, indoor painting, latex, nylon or polyester bristles, painter’s blue tape, roller, spackling paste


